A Beginner's Guide to Cloudflare
You will never stop receiving attacks, there is no such thing as "zero attacks". But you can minimize them and keep those attacks from costing you money.
A very common trick used by malicious actors is scanning websites to find large static files, like images or videos, and firing off tons of requests to burn through bandwidth. Every request consumes bandwidth, and platforms like Vercel or Netlify charge exactly for that data transfer.
These attacks are known as EDoS and, unlike a DDoS, they're not trying to take your system down, they're trying to make you spend money in the cloud. Check out this real example where a site got hit with a flood of requests from Singapore and ended up overpaying, Original Tweet.
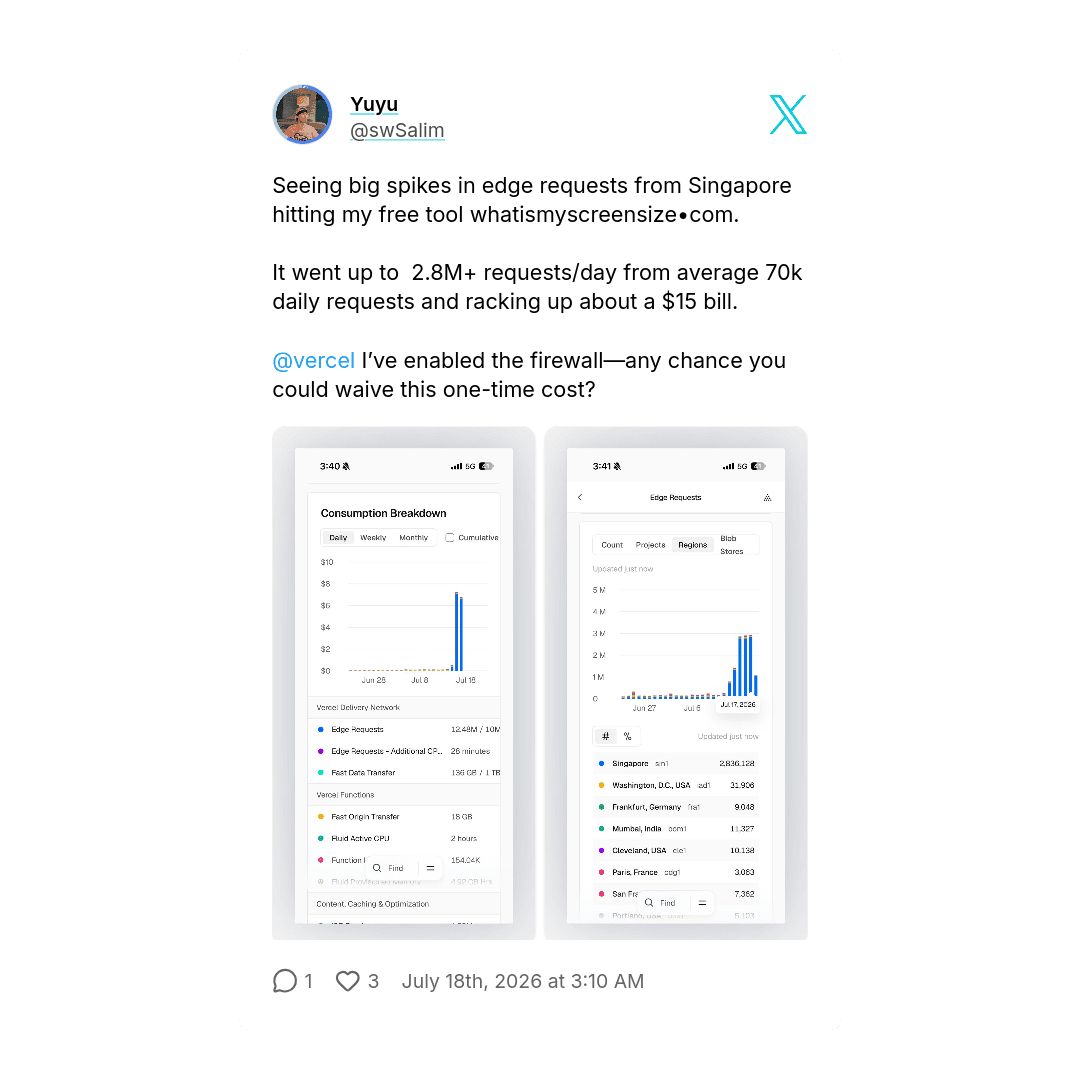
For this reason, and for more security and performance topics in general, I use Cloudflare, and I'll walk you through how I set it up for free so you can apply it to your own project too
Why use Cloudflare?
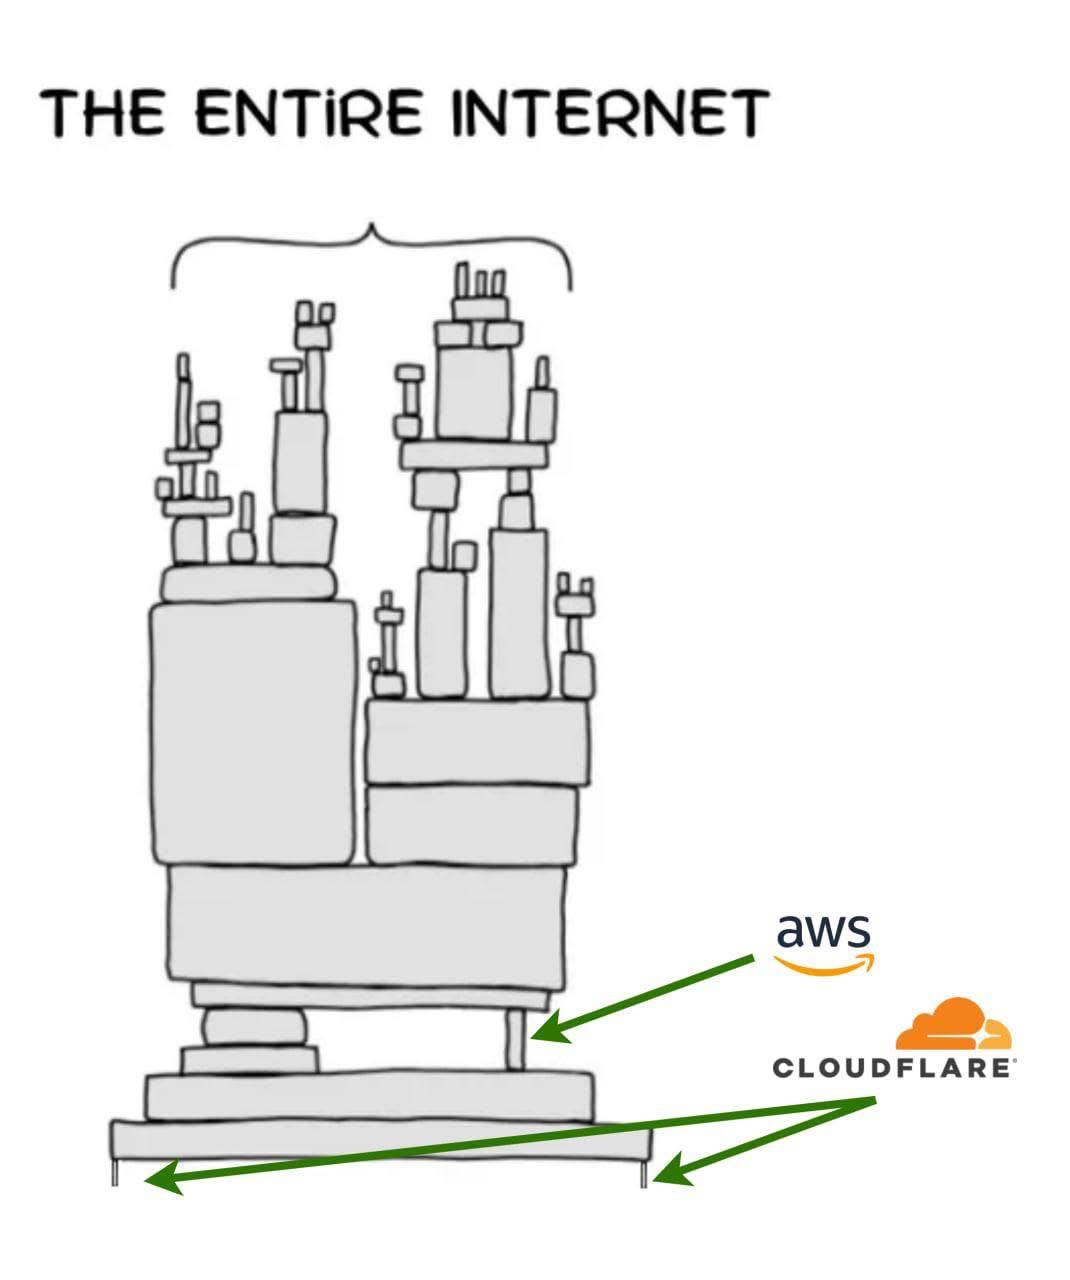
Cloudflare is basically infrastructure built for developers, and it's well known for its DDoS protection and its generous free plan. The way it works is that users don't hit our servers directly, they go through Cloudflare's servers first, which filter and cache the traffic.
A ton of sites use Cloudflare, like Stripe, Discord, Shopify, and many more. Cloudflare has become a really important pillar of how the web runs today.
How do you set it up?
Go to cloudflare.com and create your account, it's free.
1. Add your site
Add your website's domain under the Domains section. Cloudflare will give you some Nameservers that you need to update wherever you bought your domain.
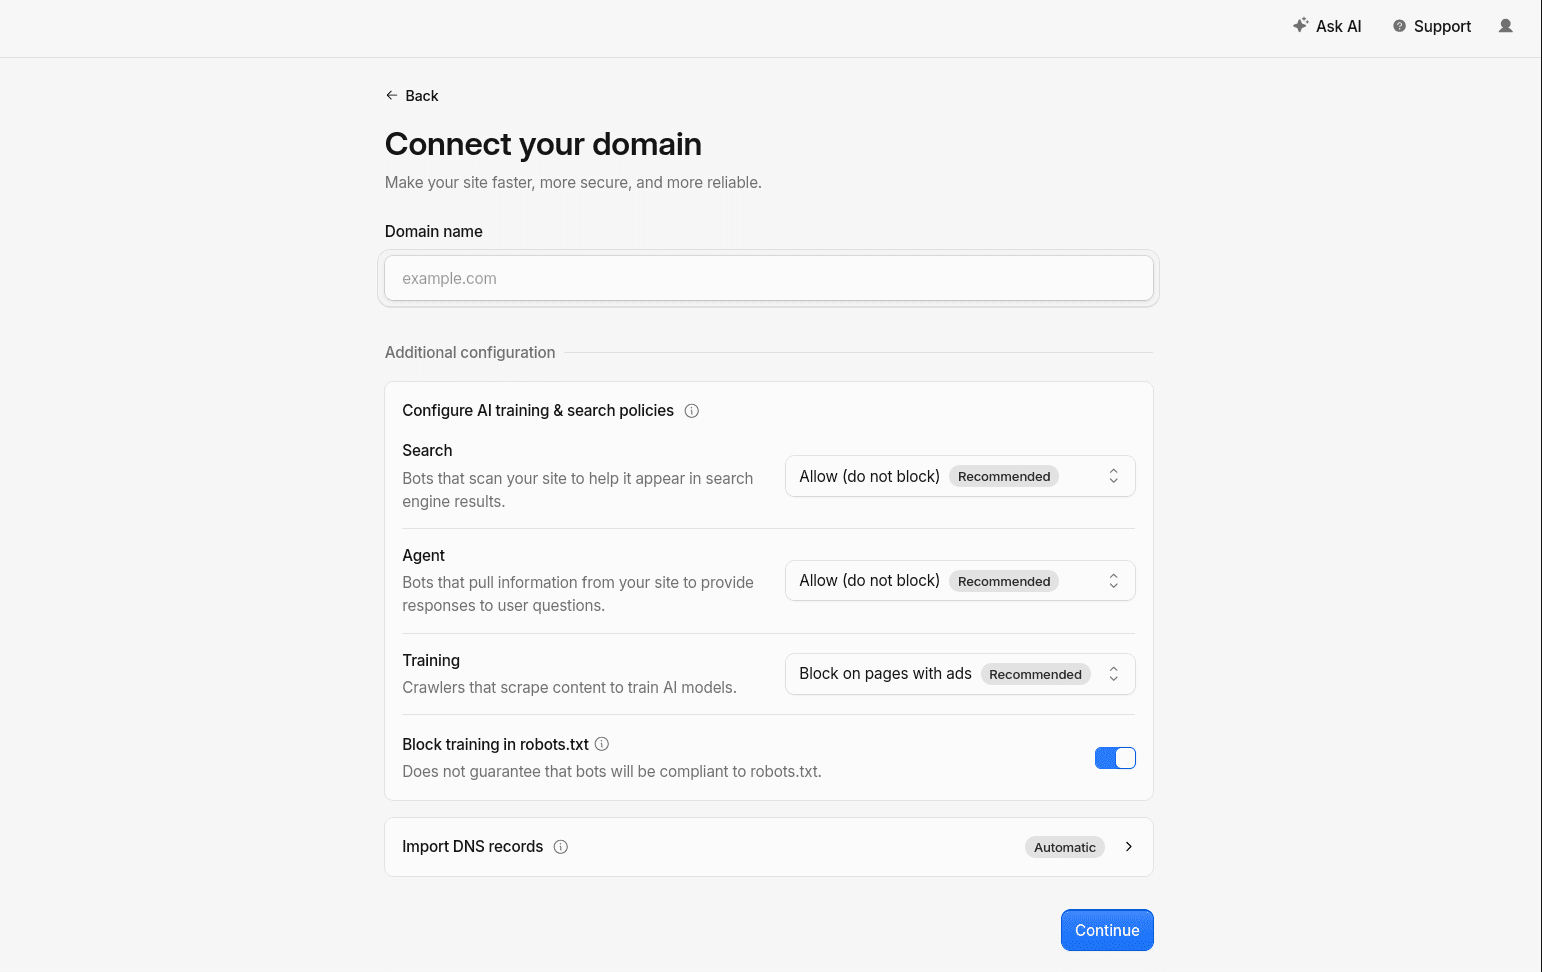
Pick the free plan, it's all the way at the bottom. Once you register it, the DNS can take up to 24 hours to update, but it's usually quick.
Once registered, the free plan already includes DDoS protection with nothing to configure.
2. Free SSL Certificate
Cloudflare gives us an SSL certificate for free. This certificate provides HTTPS security, and it renews automatically forever.
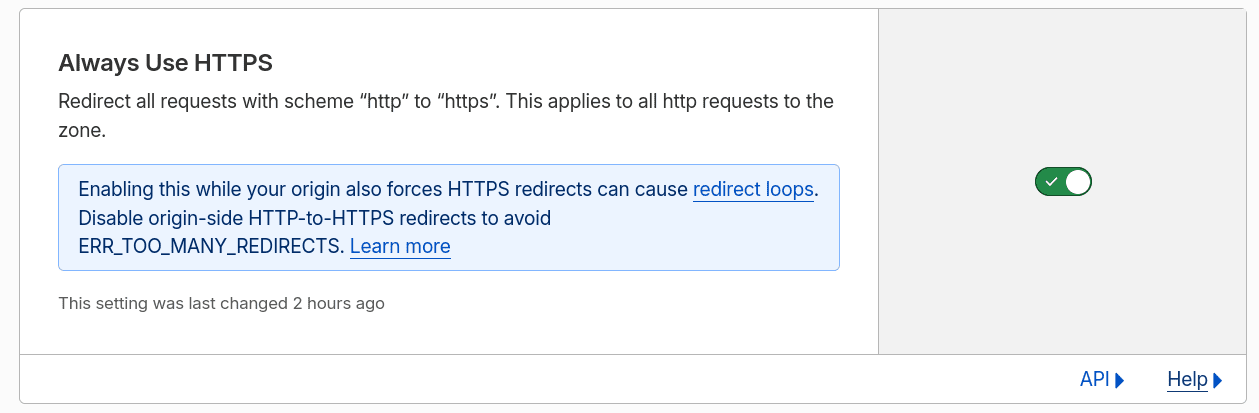
3. Always Use HTTPS
This option makes any link using http automatically redirect to https. You'll find this setting under SSL/TLS > Edge Certificates.
4. WAF (Web Application Firewall)
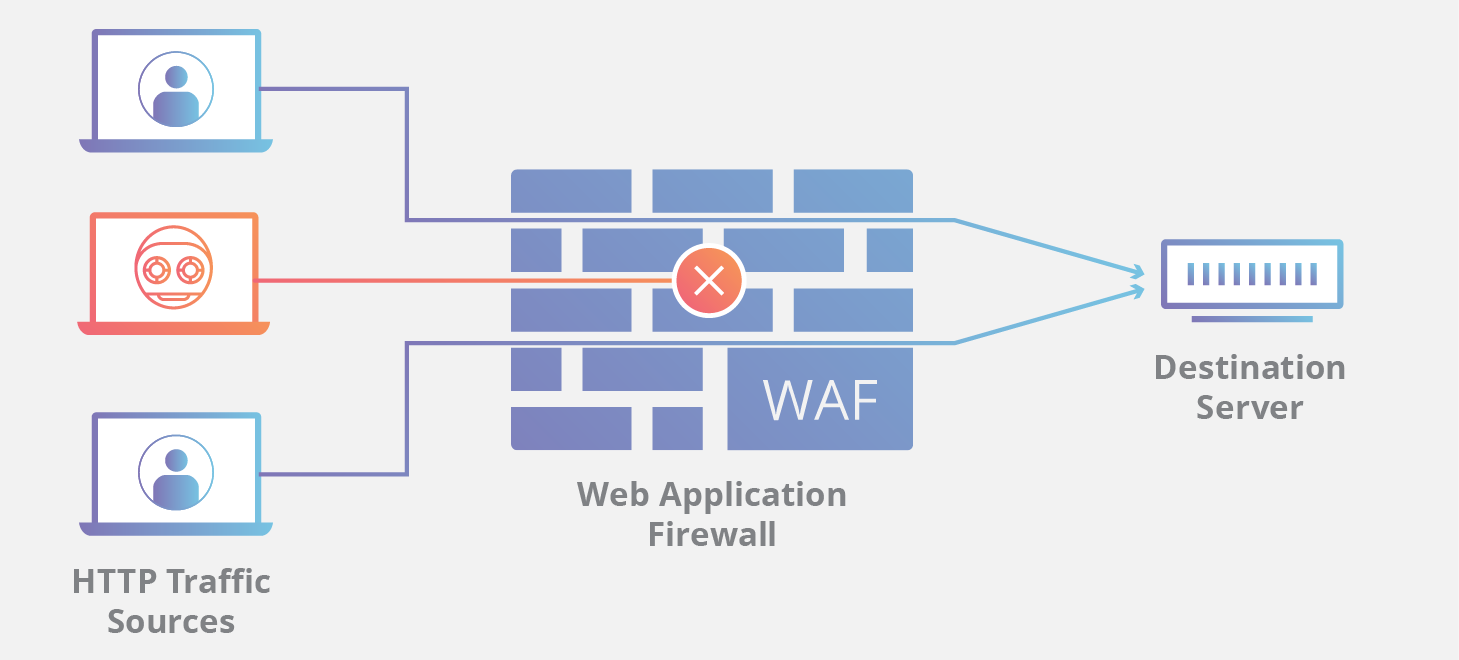
The WAF helps you figure out whether the visitor hitting your page is a real user or a bot/script. You can write rules like "block traffic from this country" or "block requests using a specific User-Agent."
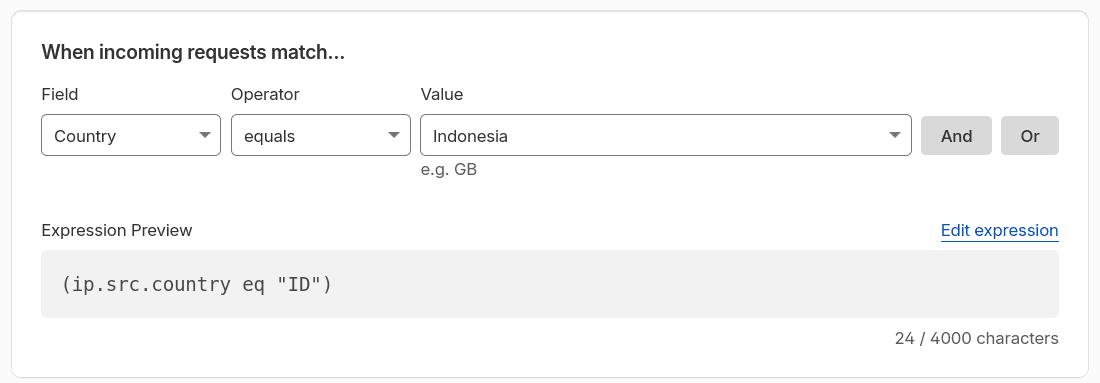
To create a rule, go to Security > Security rules and create a Custom rule. There you define when it should trigger, for example, when the visitor comes from a specific country.
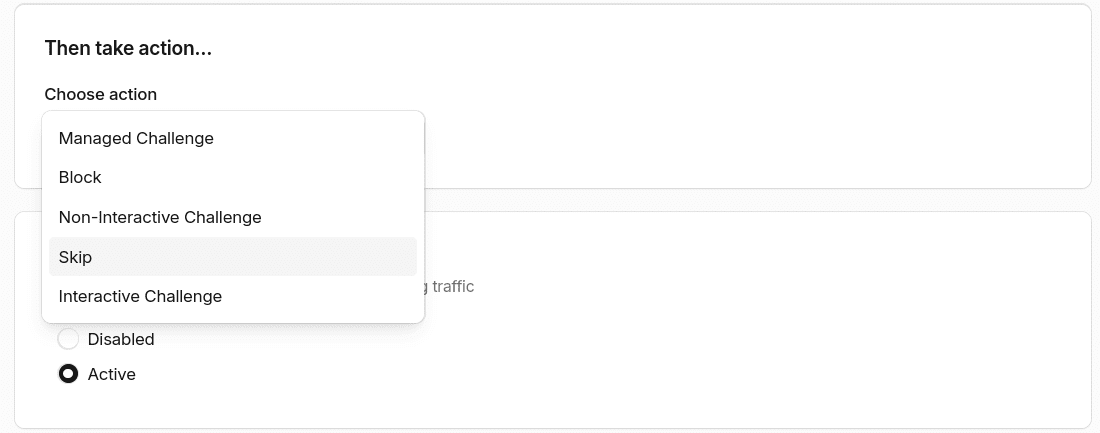
Then you choose which action runs, such as blocking, showing a challenge (the "I'm not a robot" button), or just skipping it.
Rate Limiting
You can also turn on rate limiting, which lets you cap how many requests a visitor can make in a given time window, for example, a max of 10 requests per minute. To set up rate limiting, go to Security > Security rules and create a Rate limiting rule.
There you define the request match, which routes the rate limiting applies to. In the example it only applies to routes containing /api.
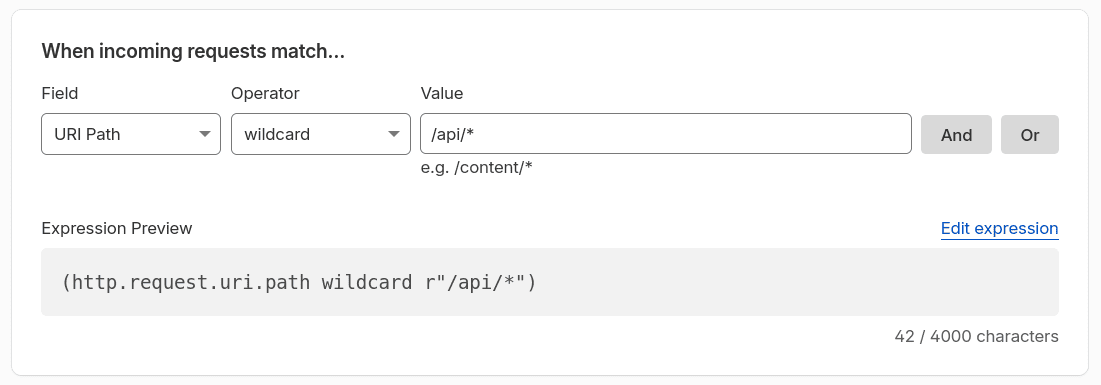
And below that, you set how many requests you allow and over what period:
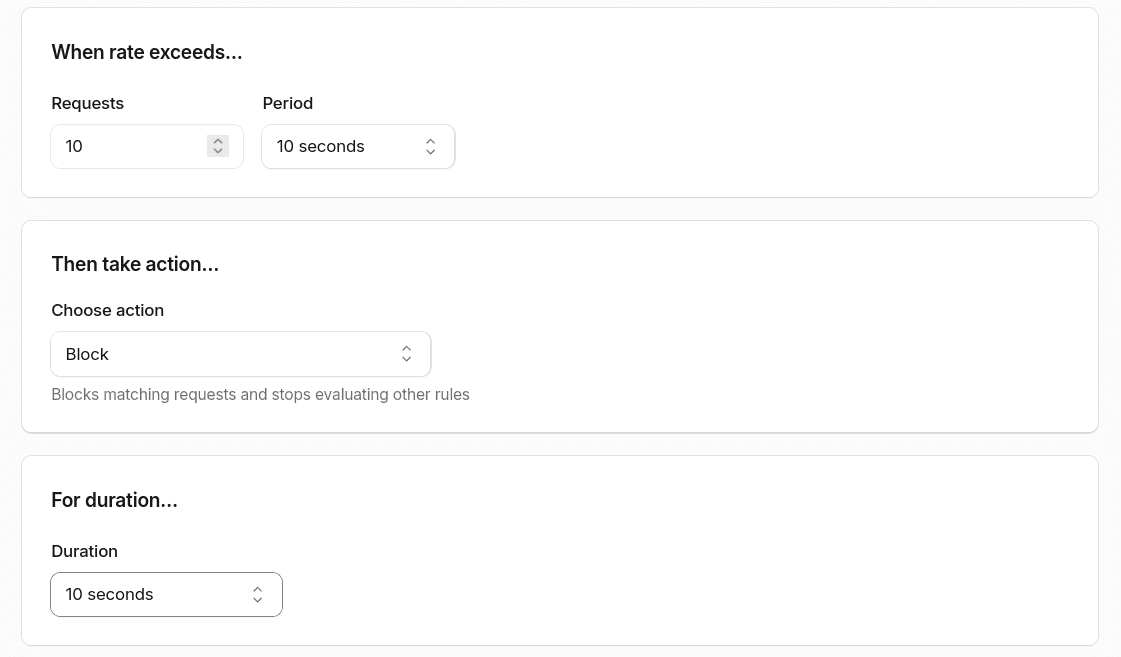
On the free plan, the period can only be 10 seconds.
Under Attack Mode
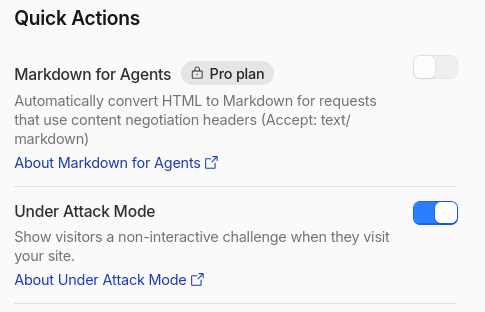
This is an option you can enable when you're experiencing an actual attack. It verifies that visitors are genuine and displays a loading screen before letting them through. You can enable it from Overview > Quick Actions.
5. Cache
This, to me, is the most effective way to cut down on unnecessary costs. There are several types of cache, the best known is the browser cache, stored locally in each user's browser. The one we're using here is the CDN cache: a network of servers spread across the world that stores copies of your content and serves it to users from the nearest server, without it having to travel all the way back to your origin server.
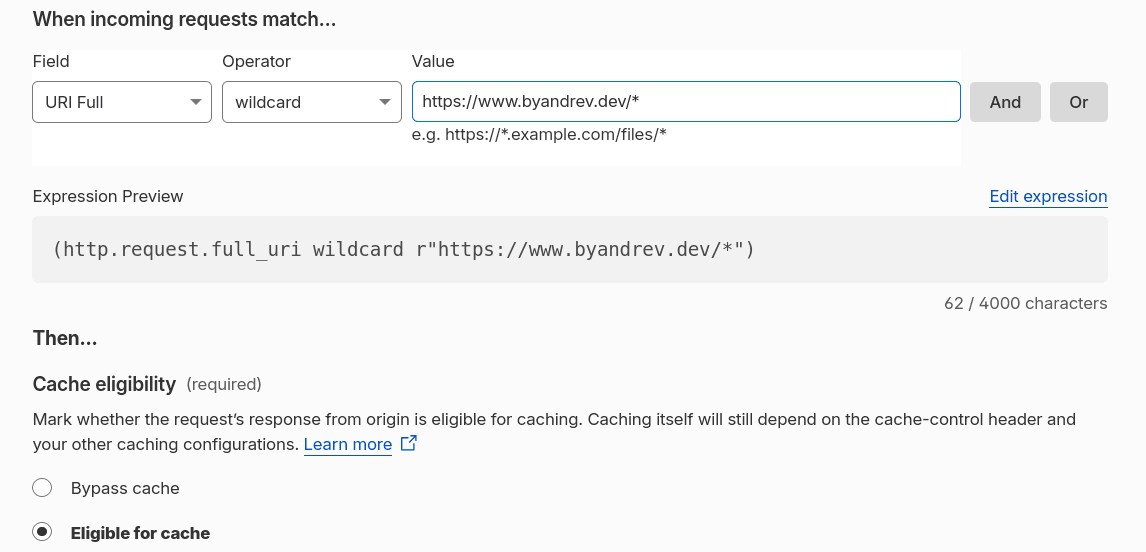
To use it, create a cache rule under Caching > Cache Rules. Define the path it should apply to and enable it as cacheable.
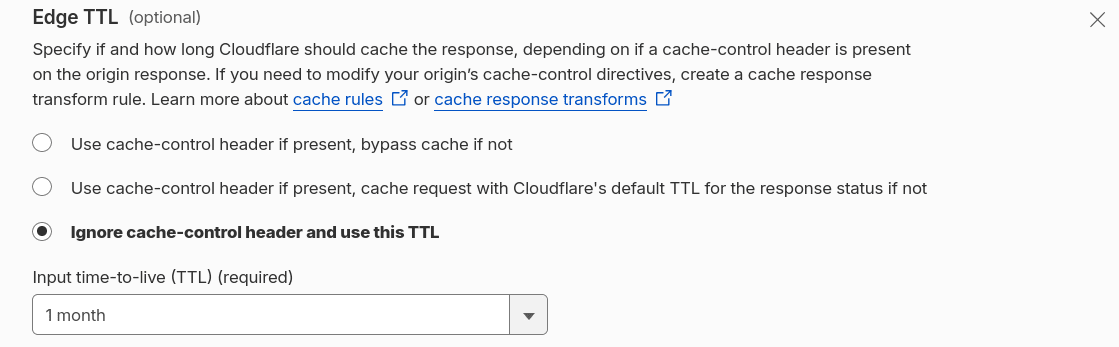
Another important thing is setting the Edge TTL, which controls how long the cache lasts. On my blog, for example, I set it to 1 month, since it's static and every time I publish something new I just run a Purge Cache.
Don't apply general caching to routes like
/api/*, since those need to stay dynamic. Exclude them from the rule, or create a separate rule for them with caching turned off.
Purge Cache
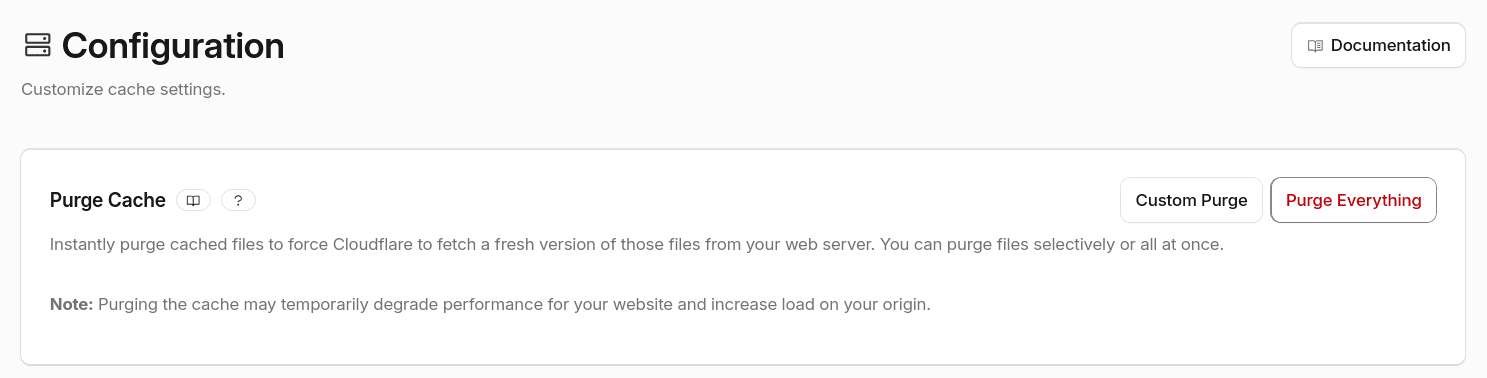
This is a feature that lets you clear the cache manually, either everywhere or just on certain routes. I use it every time I publish a new post on my blog. After my site builds, I run a Purge so the new content shows up right away.
To clear it, go to Caching > Configuration and look for Purge Cache.
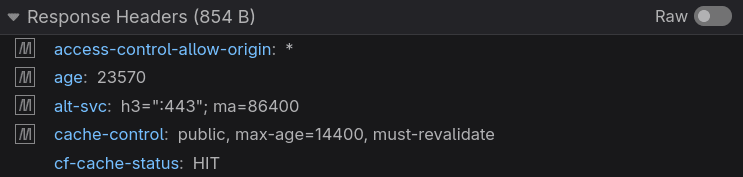
After this, when requests come in for cached routes, you'll see the cf-cache-status header say HIT, meaning the content was served straight from the cache. If it says MISS, it means the route is cacheable, but it just wasn't stored yet this time, so Cloudflare went and fetched it from your origin server.
You can read my article on Cloudflare Edge TTL for more information.
Keep learning Cloudflare
Everything I've shown you here is just a slice of what Cloudflare offers. There are tons of other options, settings, and services that can be useful for your projects. I'd recommend reading the official Cloudflare documentation and checking out Cloudflare Edge TTL, digging in further on your own, and most importantly, practicing on a real project, since that's the best way to actually learn.
Frequently asked questions
What's an EDoS attack, and how is it different from a DDoS attack?
EDoS floods a site with requests not to take it down, but to rack up bandwidth costs on platforms like Vercel or Netlify. DDoS aims to knock your system offline, EDoS aims to make you pay.
How do I set up Cloudflare for a website?
Add your domain in Cloudflare, update your nameservers at your registrar, pick the free plan, then enable "Always Use HTTPS," set up WAF custom rules, turn on rate limiting and configure Cache Rules with an Edge TTL for static content.
What is Cloudflare Under Attack Mode and when should you turn it on?
It's a free Cloudflare feature that shows visitors a verification/loading screen before letting real traffic through. Turn it on during an active attack from Overview > Quick Actions to filter out bots without blocking legitimate users.
Comments